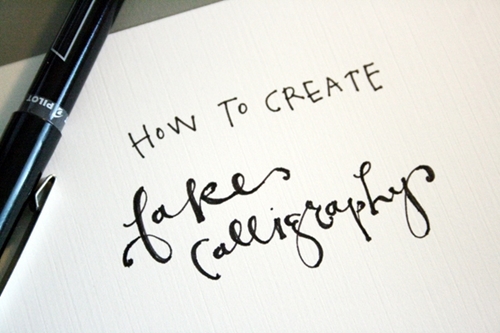
Calligraphy is its own art form. This type of handwriting can take a blank envelope from boring to beautiful in just seconds. Calligraphy looks difficult, like it takes years of practice, but I’m here to let you in on a little secret: You can fake it. The next time you send out wedding or party invitations, keep these tips in mind to make it look as though you’ve been writing calligraphy for years:
Find the perfect pen
First things first: You have to find a pen with thick ink – this will make each letter stroke easier. However, the type of pen you choose largely depends on comfort. You can try out a few to see which feels best. I personally like the Micron 05 pen or the Pilot G-2 pen, both of which can be found at any craft store. Traditional calligraphy pens have a thick, angled tip, but for our purposes, an even, thinner tip works best.
Note: If you’re a bit nervous about using a pen, start with a pencil. Once you create the perfect lines and strokes with your pencil, you can go over the lines with a pen.
Fill in downward strokes
With each letter in calligraphy, the key is to make the down strokes of each letter look thick and filled in. So let’s say you’re drawing a capital “A.” The right side of the letter, otherwise known as the down stroke, should be thicker than the line on the left. Repeat this process with any letter that you write. First, write the word as you normally would, then continue to fill in the down strokes, making them dark and thick.
Get fancy
After you’ve gotten the hang of filling in the downstrokes, try getting fancy with your words, adding in loops and swirls when you see fit (think of it like cursive). The key is to let your writing strokes flow naturally. There is no right or wrong way to create calligraphy, so don’t feel like you’ve messed up. Trial and error is part of the process – it’s how you find out what looks good and what doesn’t.
Go slowly
Mastering calligraphy technique takes time, and going slowly can help you ensure that each stroke is perfect. Don’t feel as though you have to rush through the process.
Practice
You’re not going to magically be a professional calligrapher – it takes practice! Don’t be afraid to go through a lot of paper until you figure out a strategy or a style that works for you. Practice by writing out names, addresses, numbers or phrases until you get it right.

